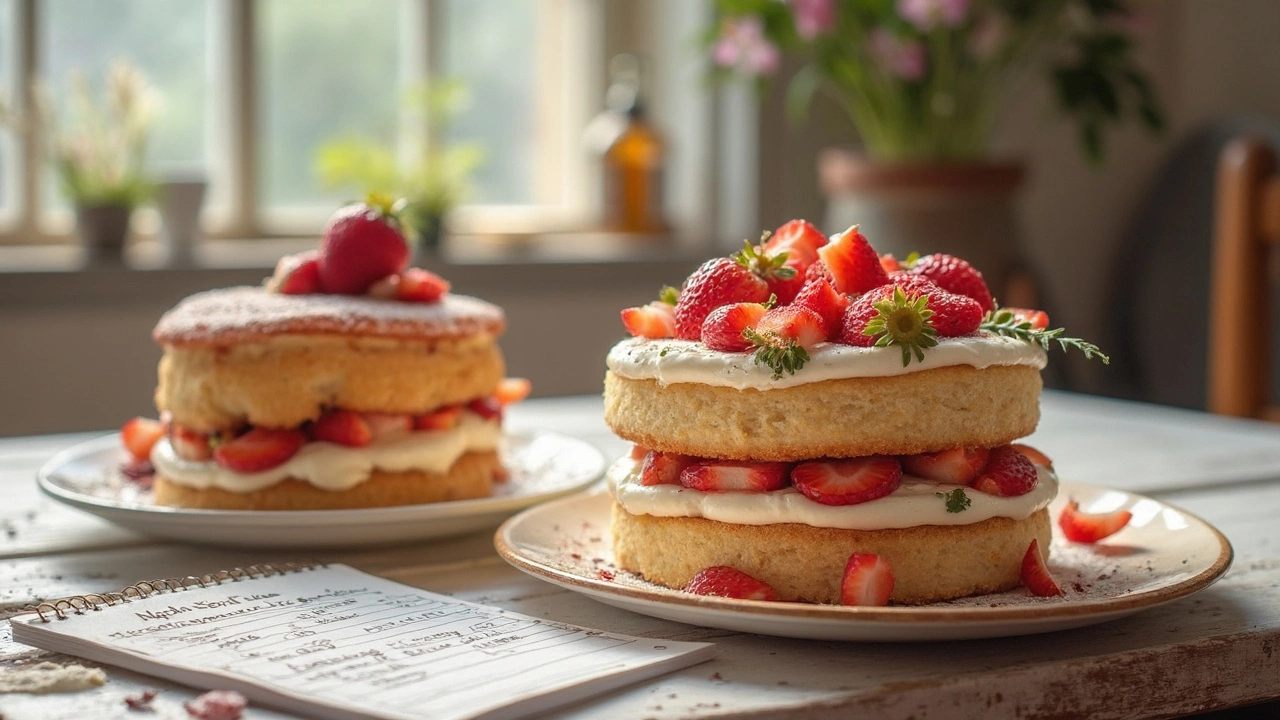
Angel Food Cake: Light, Fluffy, and Easy to Make
If you’ve ever wanted a dessert that feels like a cloud, angel food cake is the answer. It’s sweet without being heavy, and it doesn’t need butter or oil—just eggs, sugar, and a little flour. The magic lives in the beaten egg whites, which create a sponge that stays airy even after cooling.
First, gather what you need: a clean, dry mixing bowl, a 10‑inch tube pan, 1 cup cake flour, 1¼ cups granulated sugar, 12 large egg whites, 1½ teaspoons cream of tartar, ¼ teaspoon salt, 1 teaspoon vanilla, and a pinch of lemon zest if you like a hint of citrus. No fancy equipment, just a whisk or electric mixer.
Why Angel Food Cake Is a Winner
Because there’s no butter, the cake stays light and low‑fat, making it a guilt‑free treat. It also freezes well, so you can bake a batch and pull slices whenever the craving hits. The tube pan helps the cake rise evenly, and the hollow center lets heat circulate, giving a uniform texture.
One common mistake is letting any yolk touch the whites. Even a tiny bit of fat will stop the whites from reaching stiff peaks. If you’re not sure, separate the eggs over a bowl of cold water—any yolk will float.
Simple Steps to Bake the Perfect Angel Food Cake
1. Preheat the oven to 350°F (175°C). Do not grease the pan; the batter needs to cling to the sides to climb as it rises.
2. Sift the flour and half the sugar together. Set aside. This prevents lumps and keeps the cake light.
3. In a large bowl, combine the egg whites, cream of tartar, and salt. Beat on medium speed until foam forms.
4. Increase to high speed and add sugar gradually, a spoonful at a time. Keep beating until glossy stiff peaks form—when you lift the whisk, the peaks should stand straight up.
5. Gently fold in the vanilla and lemon zest, then sift the flour mixture over the whites in two batches. Use a rubber spatula, folding with a motion that turns the bowl. Don’t stir—just incorporate until there’s no white streak.
6. Pour the batter into the ungreased tube pan, smoothing the top. Tap the pan lightly on the counter to release any big air bubbles.
7. Bake for 35‑40 minutes. The cake is done when it’s golden, springs back when you touch the center, and a toothpick comes out clean.
8. Turn the pan upside down on a cooling rack as soon as you pull it from the oven. Let it cool completely—this preserves the height and prevents it from sinking.
9. Once cool, run a thin knife around the edges and gently release the cake from the pan. Slice with a serrated knife for clean cuts.
Serve the cake plain, drizzled with fresh berries, or topped with a dollop of whipped cream. It also pairs nicely with a scoop of vanilla ice cream for a quick dessert.
Store leftovers in an airtight container at room temperature for up to two days, or wrap tightly and freeze for up to a month. When you’re ready to eat, let it thaw at room temperature—no reheating needed.
That’s it—no fancy tricks, just a few simple steps and a bit of patience. Now you have a light, fluffy angel food cake that will impress anyone who takes a bite.
Is Angel Food Cake Healthier Than Regular Cake? The Real Scoop
Wondering if angel food cake is a healthier pick compared to regular cake? This article breaks down the main differences in ingredients, calories, and nutrition. We’ll cover honest facts about sugar, fat, and protein, plus tips on making each cake a bit healthier. Perfect for anyone trying to satisfy their sweet tooth without going overboard. Get ready for clear comparisons and down-to-earth advice.
