Chicken Cooking Method Selector
Select a cooking method below to see detailed tips, temperatures, and best uses for each technique.
Roasting
Grilling
Pan-Frying
Wet Heat
Deep Frying
Modern
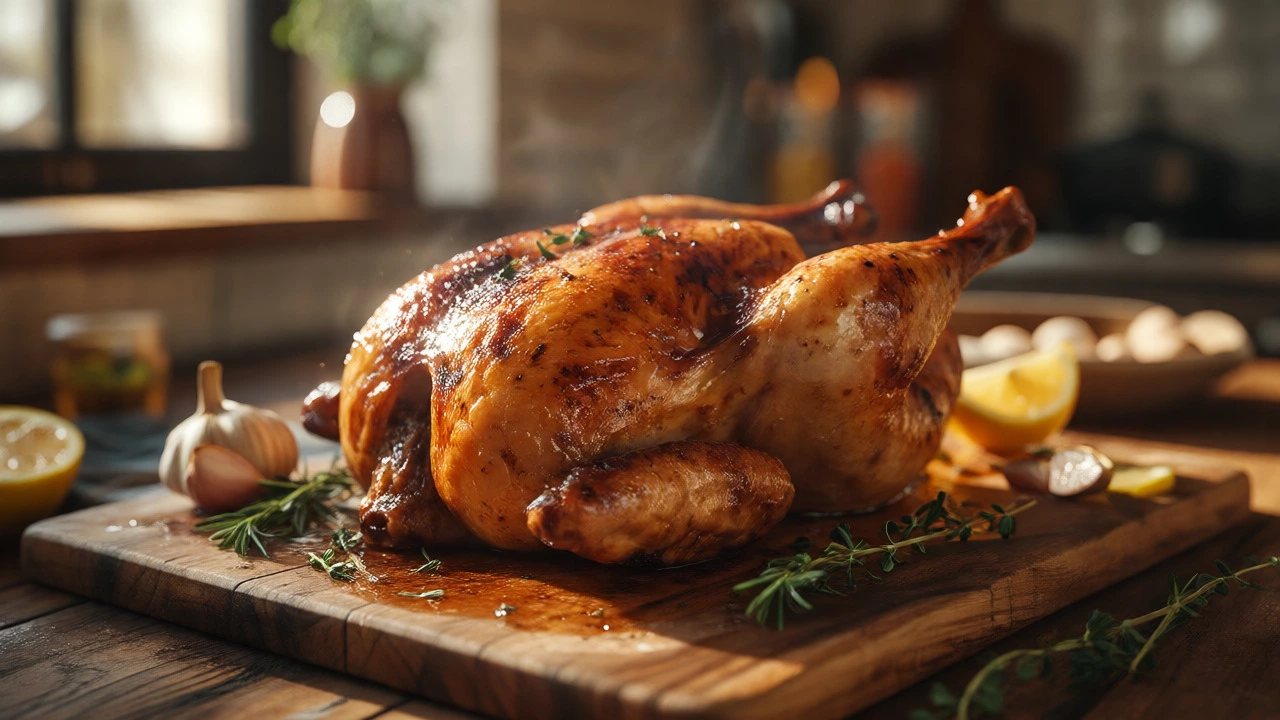
Roasting & Baking
Best For: Whole birds, large pieces, bone-in thighs.
Texture Outcome: Crispy skin, juicy interior, complex Maillard reaction flavors.
Grilling
Best For: Marinated cuts, skewers, thin breasts, pounded cutlets.
Texture Outcome: Charred marks, smoky flavor, distinct grill lines.
Pan-Frying & Sautéing
Best For: Boneless breasts, cutlets, diced pieces for stir-fries.
Texture Outcome: Golden crust, moist interior, quick cooking time.
Poaching, Boiling & Braising
Best For: Shredded chicken for salads/tacos, tough cuts like legs/thighs (braising).
Texture Outcome: Tender, shreddable, mild flavor (poaching) or silky/gelatinous (braising).
Deep & Shallow Frying
Best For: Wings, tenders, breaded cutlets, comfort food classics.
Texture Outcome: Crunchy coating, juicy interior, high contrast.
Sous Vide & Air Frying
Best For: Perfect uniform tenderness (Sous Vide), crispy wings/nuggets with less oil (Air Fryer).
Texture Outcome: Impossibly uniform (Sous Vide) or fried-like crunch (Air Fryer).
Universal Safety Rule
Always use a digital meat thermometer. Remove chicken from heat when it reaches 155°F–160°F (68°C–71°C). It will rise another 5–10 degrees during resting to reach the safe USDA recommendation of 165°F (74°C). Cutting too early spills juices; resting redistributes them.
You buy a pack of chicken, open the fridge, and stare. You’ve got the same bird you bought last week, but you want it to taste completely different. Maybe you’re tired of dry, rubbery breasts or bland thighs that lack crunch. The problem isn’t usually the meat itself; it’s the method. Chicken is incredibly forgiving if you treat it right, but it punishes ignorance harshly. If you throw a frozen breast into a cold pan, you’ll get steam, not sear. If you roast a whole bird without brining, you might get juiceless white meat while the dark meat remains undercooked.
This guide breaks down the core ways to cook chicken, focusing on what each method actually does to the texture and flavor. We aren’t just listing verbs like "boil" or "fry." We are looking at how heat transfer changes protein structure. By the end, you will know exactly which technique fits your schedule, your equipment, and your hunger level.
The Dry Heat Trio: Roasting, Baking, and Grilling
Roasting is often confused with baking, but in the kitchen, they differ by temperature and intent. Roasting typically happens at higher temperatures (400°F/200°C and above) and aims for browning-those crispy skin and caramelized edges we crave. It relies on hot air circulation. If you have a convection oven, use it. The fan strips away the boundary layer of cool air surrounding the chicken, allowing heat to penetrate faster and more evenly.
Baking, conversely, usually implies lower temperatures (325°F-375°F / 160°C-190°C). This is better for delicate dishes where you don’t want the exterior to burn before the interior cooks through, such as a casserole with heavy sauce. But for plain chicken pieces? Stick to roasting. High heat triggers the Maillard reaction, creating complex flavors that low heat simply cannot achieve.
Grilling adds smoke and char, which are flavor compounds you can’t replicate indoors. Direct grilling works best for thin cuts like boneless breasts or pounded cutlets. Indirect grilling-placing the chicken away from the direct flame-is essential for whole birds or thick thighs. Think of it as an outdoor oven. The key here is zone management. Create a hot side for searing and a cooler side for finishing. This prevents the outside from turning to charcoal while the inside stays pink.
| Method | Best For | Temp Range | Texture Outcome |
|---|---|---|---|
| Roasting | Whole birds, large pieces | 400°F+ (200°C+) | Crispy skin, juicy interior |
| Baking | Stuffed breasts, casseroles | 325°F-375°F (160°C-190°C) | Tender, moist, less browning |
| Grilling | Marinated cuts, skewers | Medium-High Heat | Charred marks, smoky flavor |
Pan-Frying and Sautéing: Control Your Crust
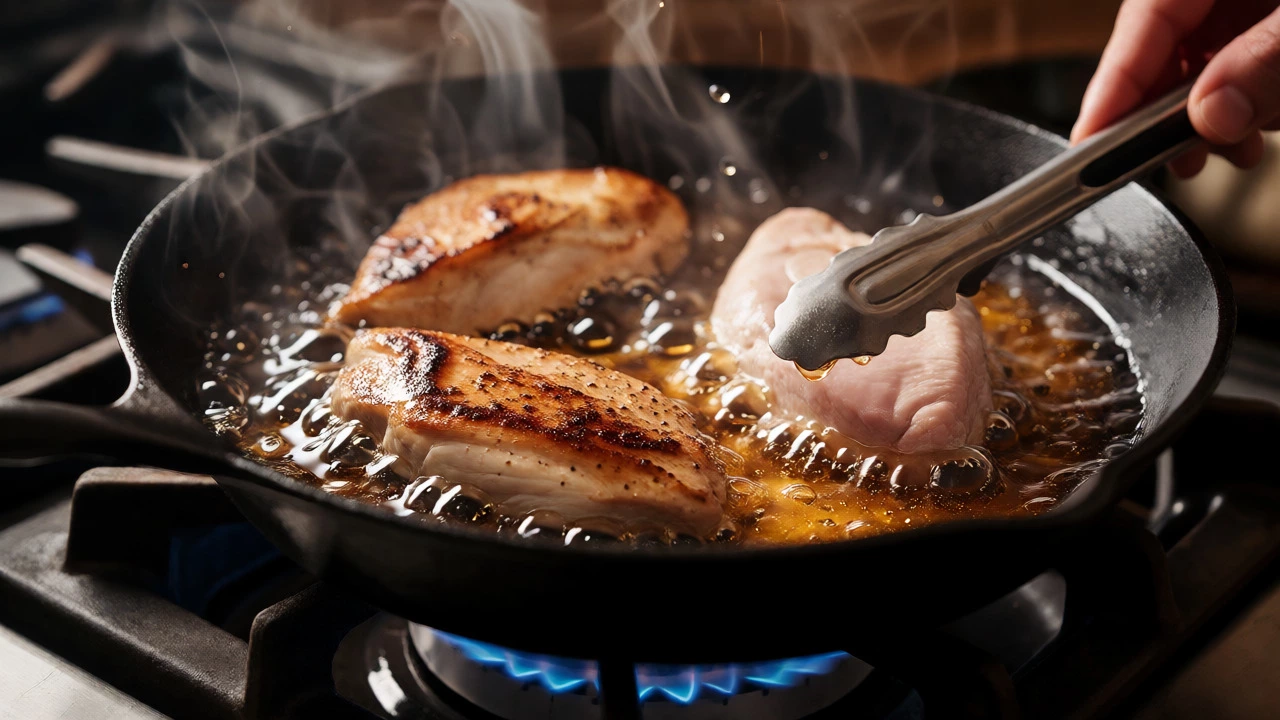
If you want speed and flavor, pan-frying is king. But most people fail because their pan isn’t hot enough, or they overcrowd it. When you drop chicken into a pan, the surface moisture turns to steam. If the pan isn’t screaming hot, that steam traps around the meat, boiling it instead of frying it. You get gray, soggy chicken.
To fix this, use a cast-iron skillet or stainless steel pan. Preheat it until water droplets dance and evaporate instantly. Add a high-smoke-point oil like avocado or grapeseed. Pat the chicken dry with paper towels-this is non-negotiable. Moisture is the enemy of crispiness. Once the chicken hits the pan, do not touch it. Let it sit for 4-6 minutes depending on thickness. A proper crust releases naturally from the pan when it’s ready. If it sticks, it’s not done searing.
Sautéing is similar but uses less fat and smaller pieces, often diced or sliced. This is ideal for stir-fries or quick weeknight meals. The goal here is even browning on all sides, so constant movement is required. Unlike pan-frying whole breasts, sautéing benefits from frequent tossing to ensure every piece gets contact with the hot metal.
Wet Heat Methods: Poaching, Boiling, and Braising
Not everyone wants crispy skin. Sometimes you need tender, shreddable meat for salads, tacos, or soups. That’s where wet heat comes in. Poaching is gentle simmering in liquid below a boil (160°F-180°F / 70°C-80°C). This keeps proteins tight and prevents them from squeezing out moisture. It’s perfect for chicken salad or sandwiches where you want clean, mild flavor.
Boiling is harsher. While traditional, it often results in overcooked, stringy meat if left unattended. If you must boil, bring the water to a boil, add the chicken, then immediately turn off the heat and cover. Let it sit for 20-30 minutes. This residual heat method cooks the chicken gently without agitating the fibers.
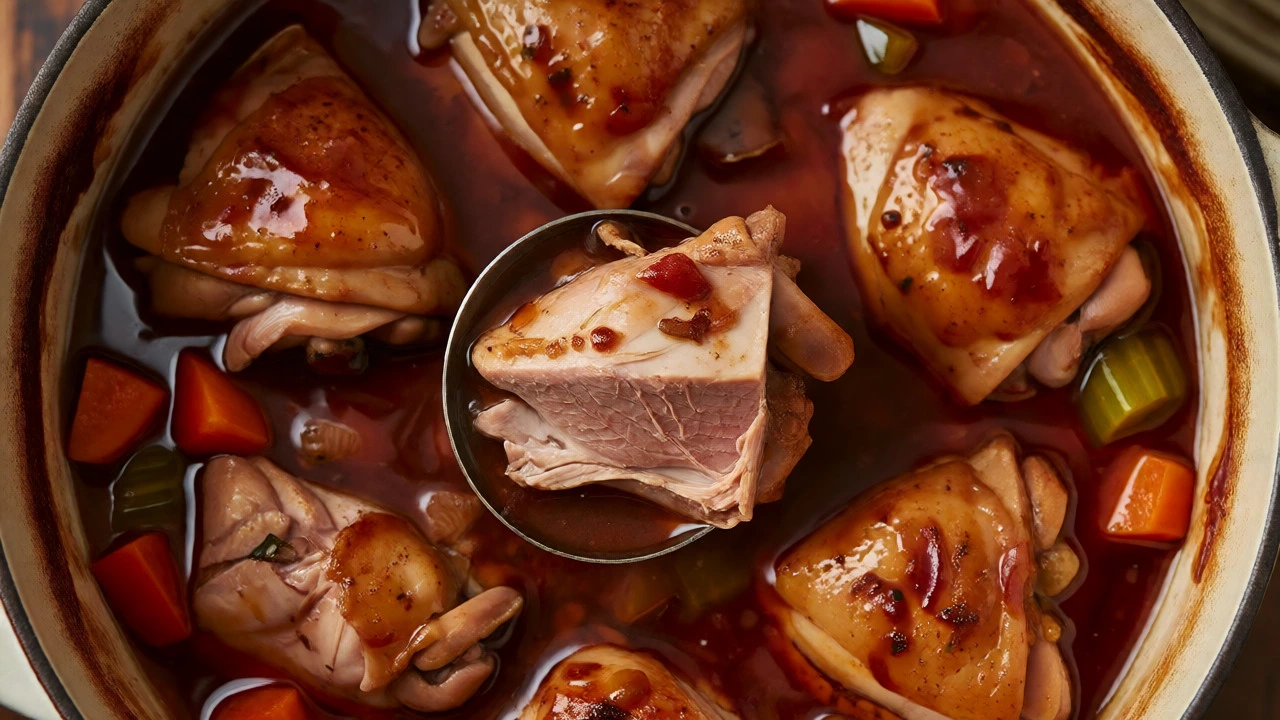
Braising combines both worlds. You sear the chicken first to build flavor, then finish it slowly in liquid. This is excellent for tough cuts like legs or thighs, or older birds. The collagen in dark meat breaks down into gelatin during long, slow cooking, making the meat silky rather than chewy. A Dutch oven is the best tool for this because it retains heat evenly and holds moisture well.
Frying: Deep vs. Shallow
Fried chicken is comfort food for a reason. The contrast between the crunchy coating and the juicy interior is addictive. There are two main approaches: deep frying and shallow frying.
Deep frying submerges the chicken entirely in hot oil (350°F-375°F / 175°C-190°C). This cooks the chicken quickly and evenly. The key is maintaining temperature. If you add too much chicken at once, the oil temp drops, and the coating absorbs grease, becoming heavy and oily. Fry in batches. Use a thermometer. Don’t guess.
Shallow frying uses less oil, just enough to come halfway up the chicken. This requires flipping halfway through. It’s less messy than deep frying but still delivers significant crunch. It’s great for cutlets or tenders where you want a lighter meal than full-on fried chicken.
For either method, brine your chicken beforehand. Soak it in saltwater for at least 4 hours, or overnight if possible. This seasons the meat internally and helps it retain moisture during the intense heat of frying. Without brining, fried chicken can be dry inside despite being crispy outside.
Modern Methods: Sous Vide and Air Frying
Sous vide involves sealing chicken in a vacuum bag and cooking it in a precise water bath. For chicken breast, set the circulator to 145°F (63°C) for 1-2 hours. The result is impossibly uniform tenderness throughout. No gradient from cooked to raw. However, sous vide doesn’t brown the meat. After cooking, you must sear it quickly in a hot pan or with a torch to develop color and flavor.
Air fryers are essentially small, powerful convection ovens. They circulate hot air rapidly around the food. This mimics frying with significantly less oil. It’s fantastic for wings, nuggets, or breaded cutlets. Because the space is small, preheating matters. Also, avoid overcrowding the basket. Air needs to flow around each piece to crisp the surface. If you stack them, you’ll steam them.
Slow Cooking: Set It and Forget It
Slow cookers are misunderstood tools for chicken. Many people dump raw chicken in and walk away, only to find mushy, bland meat after 8 hours. Chicken breast, in particular, dries out if cooked too long on high. Dark meat handles it better due to higher fat content.
To get good results, limit cooking time to 3-4 hours on high or 6 hours on low for breasts. Thighs can go longer. Always season generously, as the long cook time dilutes flavors. Adding acidic ingredients like tomatoes or wine helps break down connective tissue, improving texture. Remember, slow cooking doesn’t brown food. If you want depth of flavor, sear the chicken first. It takes five minutes and transforms the final dish from sad to spectacular.
Choosing the Right Cut for the Method
Matching the cut to the method is half the battle. Here’s a quick cheat sheet:
- Chicken Breast: Best for poaching, sous vide, pan-searing, or grilling. Avoid slow cooking unless shredded afterwards.
- Thighs and Drumsticks: Ideal for braising, roasting, deep frying, and slow cooking. Their fat content keeps them moist.
- Whole Bird: Best for roasting, spatchcocking (flattening before roasting), or rotisserie. Brining is highly recommended.
- Wings: Perfect for deep frying, baking with powder coatings, or air frying.
Don’t ignore carryover cooking. Remove chicken from heat when it reaches 155°F-160°F (68°C-71°C). It will continue to rise another 5-10 degrees while resting. Pulling it at 165°F often means it ends up at 175°F+, which is dry territory. Resting allows juices to redistribute. If you cut immediately, those juices spill onto the plate, leaving you with dry meat.
Troubleshooting Common Chicken Mistakes
Why is my chicken rubbery? Usually, it’s overcooked. Proteins tighten when heated. Past 165°F, they squeeze out water. Use a digital thermometer. Guessing leads to disappointment.
Why is my skin soggy? Steam trapped it. Ensure your oven is hot enough and the chicken isn’t crowded. Patting the skin dry before seasoning also helps.
Why is my fried chicken greasy? Oil temperature dropped. Fry fewer pieces at a time. Check the temp between batches.
Why is my boiled chicken bland? Water leaches flavor. Salt the water heavily, like pasta water. Or better yet, poach in broth with aromatics like garlic, onion, and herbs.
What is the safe internal temperature for chicken?
The USDA recommends cooking chicken to an internal temperature of 165°F (74°C). However, many chefs pull it off the heat at 155°F-160°F (68°C-71°C) and let it rest. During resting, the temperature rises to 165°F while retaining more moisture. Always check the thickest part of the meat, avoiding bone.
Should I wash chicken before cooking?
No. Washing raw chicken spreads bacteria like Salmonella via splashing water. Cooking kills these pathogens. Simply pat the chicken dry with paper towels to remove excess moisture, which improves browning and reduces splatter.
Which cooking method is healthiest for chicken?
Poaching, grilling, and baking are generally considered healthier options because they require little to no added fat. Deep frying adds significant calories from absorbed oil. However, removing skin before eating reduces saturated fat intake regardless of the cooking method.
How do I keep chicken breast from drying out?
Brine it for at least 30 minutes, pound it to an even thickness for consistent cooking, and use a meat thermometer to prevent overcooking. Pounding ensures the thinner parts don’t overcook while waiting for the thicker center to reach temperature.
Can I cook frozen chicken directly?
Yes, but it takes about 50% longer to cook. Methods like poaching, pressure cooking, or baking work well. Pan-frying frozen chicken is difficult because the outside may burn before the inside thaws and cooks. Always verify the internal temperature reaches 165°F (74°C).

Recent Posts
-
 Is 3 Hours on High the Same as 6 Hours on Low in a Slow Cooker? December 1, 2025
 -
 Perfectly Baked Chicken: Timing and Tips for Oven Cooking at 350°F December 11, 2024
 -
 Quick Dinner Ideas: Fast Meals You Can Make Tonight October 14, 2025
 -
 What Food Has Zero Carbs? A Realistic Guide to Zero-Carb Foods November 11, 2025
 -
 What Are the 5 Metabolic Superfoods That Actually Boost Your Metabolism? December 25, 2025