Baking chicken seems straightforward, right? But here's the kicker: to cover or not to cover? That simple question can change everything from how the chicken tastes to its texture. So, if you've ever wondered, you're not alone.
You might think covering keeps the chicken moist, and you're not wrong. It helps trap steam, which is great for tenderness but not so great if you crave that crispy, golden-brown skin. Leaving it uncovered, on the other hand, encourages more browning and crispy goodness—but at the risk of drying it out. Finding the sweet spot isn't as complex as it sounds, and we'll break it down.
But there's more to it. Have you thought about the role of seasoning? Whether you cover your chicken or not can impact how flavors meld during baking. Plus, there's the part about choosing the right baking dish. Yep, it all plays a part. Stick around, and we'll unravel it all and have you ditch those doubts about baked chicken once and for all.
- Why Covering Matters
- The Benefits of Not Covering
- How to Achieve Crispy Skin
- Boosting Flavor and Juiciness
- Common Mistakes to Avoid
- Tips for Perfect Baked Chicken
Why Covering Matters
When it comes to baking chicken, covering matters more than you might think. It's not just about following a recipe; it's about getting the right texture and taste. So, when should you go for the cover?
Keeping Moisture Locked In
Covering your chicken while it bakes helps retain moisture. Think of it as a steam trap. The steam trapped underneath the cover ensures your chicken stays juicy throughout the cooking process. If you're worried about the meat drying out, covering is a safe bet.
Even Cooking
Another reason to cover is for even cooking. The cover reflects the heat back on the chicken, cooking it from both sides at the same time. This is especially useful if you're cooking larger pieces that need a bit more time to cook through.
Flavor Infusion
But wait, there's more! Covering isn't just about moisture—it's also about flavor. When you add herbs, spices, or marinades to your chicken, a cover can help those flavors seep into the meat. The trapped steam carries the aromas throughout the dish, ensuring every bite is as flavorful as the next.
When Covering Isn't the Best Option
If your goal is a crispy texture, covering won't get you there. Instead, it might result in a softer exterior. So, if crispy skin is what you’re after, you might want to explore the benefits of not covering the chicken when baking.
Quick Tip
Using a loose foil tent works wonders if you want a bit of both worlds—keeping some moisture in but allowing the surface to brown a bit. Experiment with partially covering your dish; you'll find the balance that suits your taste.
The Benefits of Not Covering
Alright, picture this: You're baking a lovely chicken breast and craving that deliciously crispy skin. That's where not covering your chicken does its magic. When you leave the chicken uncovered, it lets the heat work its charm directly on the skin, turning it from pale and soft to golden and crispy. That's the stuff dreams are made of, right?
Baking chicken uncovered also helps with flavor development. Without a cover, the chicken can absorb that roasted, slightly caramelized taste that only dry heat can give. Think of it as that roasted aroma you get when roasting veggies. Yum!
And let's not forget the texture. Want your baking chicken to have that firm yet juicy bite? By not covering it, you're allowing the outside of the chicken to cook faster, creating a contrast between the crispy outside and tender inside. It's like having the best of both worlds on your plate.
Enhanced Browning and Texture
If you're aiming for that mouth-watering finish on your chicken, leaving it uncovered is the way to go. The drier the environment, the more likely you'll get that browning effect. Plus, the natural sugars in the chicken caramelize on the skin, adding flavor you just can't replicate when covered.
When to Go Uncovered
Not all chicken dishes are meant to be uncovered. If you're working with skin-on cuts or doing a marinade that you want to thicken and cling onto the meat, that’s your cue. It lets the marinade cook down and intensify rather than washing off as steam might do under a cover.
A Quick Tip
Want to avoid that dreaded dry meat? Simply reduce the temperature and increase the cooking time. This lets the inside of the chicken cook through without drying out the surface. And there you have it—a dish full of layers, flavors, and textures all achieved by simply not covering your chicken!
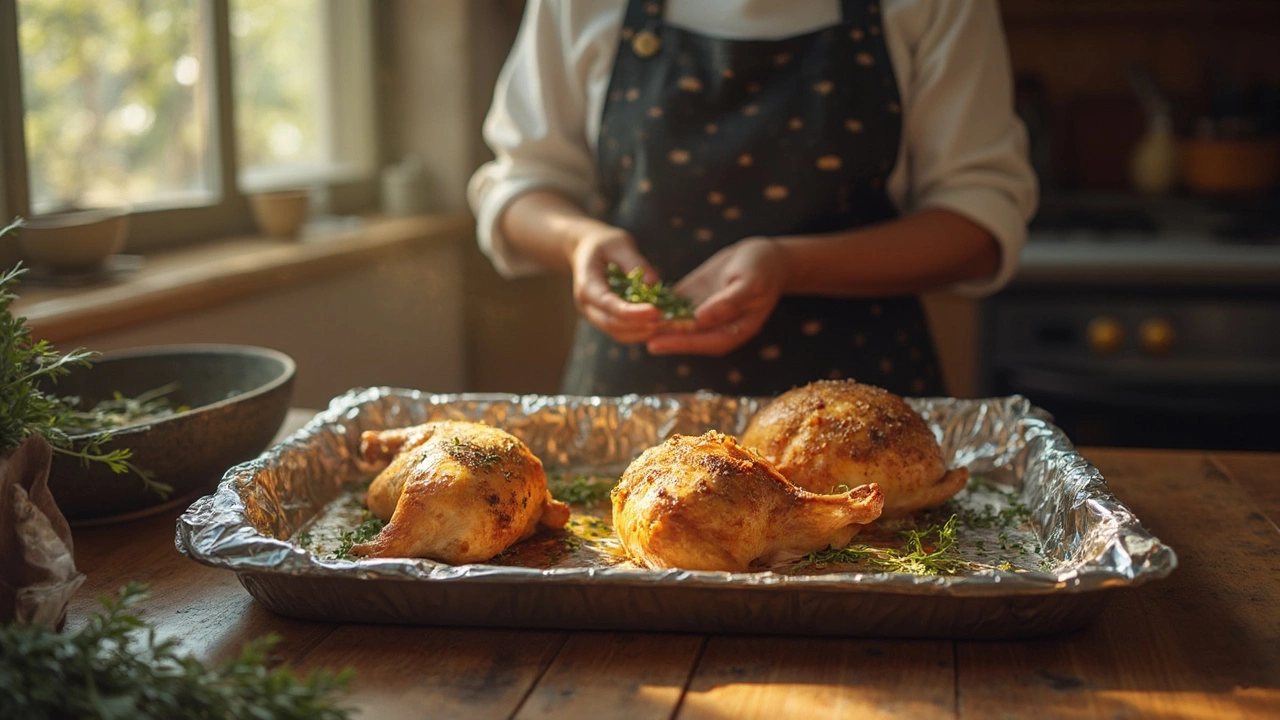
How to Achieve Crispy Skin
So, you're after that perfect, crispy skin on your baked chicken? Let's cut to the chase and break it down step by step.
Pat It Down
First things first, moisture is the enemy of crispiness. Make sure you dry the chicken thoroughly before you even think about spices. Use paper towels to pat it down until it's nice and dry. This simple step really sets the stage for stunningly crispy skin.
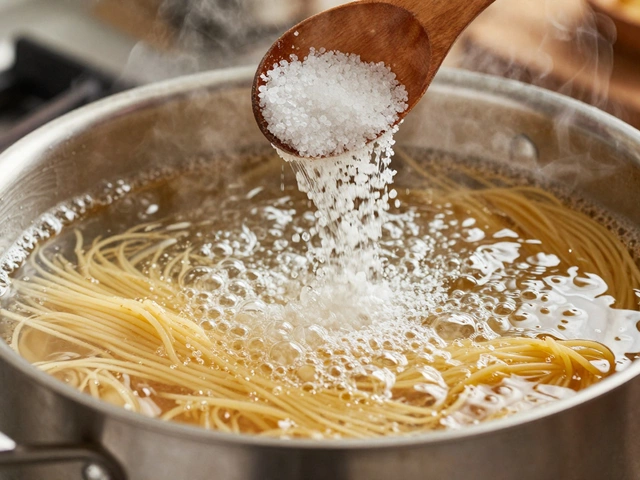
Season Smartly
Seasoning is where you add more than just flavor—you add texture too. Salt is your best friend here. It draws out moisture and aids in crisping things up. You can sprinkle some pepper or other spices, but make sure salt is the star.
Don't Skip the Rack
Baking your chicken on a wire rack placed over a baking sheet is a pro tip you shouldn't ignore. It allows hot air to circulate all around, so the bottom of your chicken gets as crispy as the top. If you don't have a rack, flipping the chicken halfway through works in a pinch.
Crank Up the Heat
Higher heat equals crispier skin. Preheat your oven to at least 425°F (220°C). You want the skin to cook quickly, rendering the fat and getting that wonderful crispy texture without overcooking the meat.
Consider a Bit of Butter or Oil
Here's where you can choose your adventure: a light brush of melted butter or a drizzle of olive oil helps achieve a golden-brown hue. Both enhance the flavor profile, but go easy—you don't want to drown it.
Time It Right
Give it time, but not too much. You generally want to bake it for about 45 minutes to an hour. Use a meat thermometer to ensure the internal temperature hits 165°F (74°C) so you know it's done.
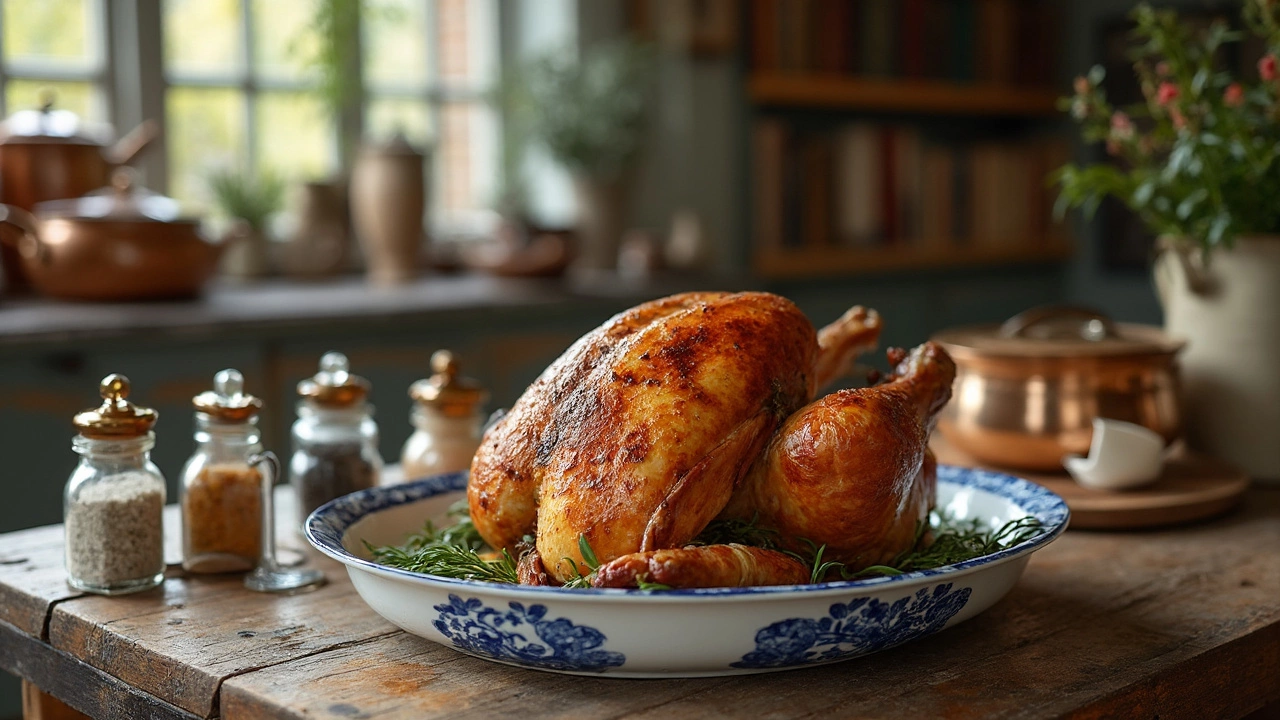
The reward for following these tips is a batch of mouth-watering, crispy-skinned chicken that'd rival any restaurant dish. Get ready to impress yourself and anyone else lucky enough to join you for dinner!
Boosting Flavor and Juiciness
Let's talk flavor and juiciness because, let's face it, nobody wants bland baked chicken. Want to get it right? It's all about choosing the right marinade and knowing how to season.
Marinades Make a Difference
A good marinade can be a game changer. It doesn’t just add flavor—it also helps tenderize the chicken. A basic marinade might include olive oil, vinegar or lemon juice, garlic, and herbs. Let the chicken soak this up for at least a couple of hours, or even better, overnight.
If you're in a hurry, focus on ingredients with strong flavors like soy sauce, honey, or mustard mixed with some chopped fresh herbs. These can boost the taste even with a short marinade time.
The Art of Proper Seasoning
Seasoning is a must. Salt draws out moisture and helps with browning, which is essential when you're not covering chicken. Don’t hold back—seasoning should cover the entire piece of chicken.
For an extra flavor kick, add spices like paprika, black pepper, or even a hint of cayenne. The heat from these spices can enhance the overall flavor without overpowering the dish.
Cooking Oils and Basting
Using a brush, coat the chicken with oils like olive or grapeseed oil before baking. This can help maintain juiciness, especially if you're aiming for crispy skin by not covering chicken.
Basting is also your friend. Open the oven and quickly brush or spoon pan drippings over the chicken halfway through baking. This keeps it moist and helps lock in flavors.
Herbs and Aromatics
Don't forget about the power of fresh herbs and garlic. Toss a few rosemary sprigs or thyme branches onto the chicken. If you like, add a few cloves of smashed garlic. As the chicken bakes, these will release their aromatics, infusing every bite with flavor. You can even tuck some of these under the skin for more direct flavor.
By focusing on these steps, you won't just be baking chicken; you'll be creating a meal where every bite is bursting with flavor and juiciness. That's how you get them asking for seconds!
Common Mistakes to Avoid
Even the best cooks make mistakes from time to time. With chicken recipes, it's pretty common since baking can be tricky. Let's get into what you should dodge to score that perfect bird.
Not Preheating the Oven
This might sound like a no-brainer, but you'd be surprised how often it's skipped. Failing to preheat can mess with cooking times and might leave you with chicken that's raw inside. Always make sure your oven's right there at the set temperature before your chicken goes in.
Picking the Wrong Dish
Choosing a baking dish that's too small makes the chicken stew in its own juices rather than roast. On the flip side, if it's too big, you might dry the chicken out. Aim for something that fits snugly without overcrowding.
Overcooking or Undercooking
Ever had rubbery or pink chicken? Not fun. Use a meat thermometer and aim for an internal temperature of 165°F (75°C). It's a foolproof way to ensure your chicken's safe and juicy.
Skipping the Resting Period
Once your baked chicken is out of the oven, let it rest. This is crucial. It helps those juices redistribute, making for a tastier bite. Five to ten minutes is usually a good window.
Forgetting Seasoning
Believe it or not, some people just throw chicken in the oven plain. Yikes! Even a simple sprinkle of salt and pepper can do wonders. For the best results, season generously and, if possible, let it marinate for a bit before baking.
Avoid these slip-ups, and you'll be well on your way to making chicken that's crispy, juicy, and full of flavor. Plus, your friends are bound to ask for your secrets!
Tips for Perfect Baked Chicken
So, you want to nail that ideal baked chicken, huh? It doesn't take a degree in culinary arts, just some solid tips and maybe a bit of trial and error. Here's the inside scoop.
Prep Your Chicken Right
First things first, rinse and pat your chicken dry. It might sound basic, but this little trick can help the seasoning stick better. Don't skip it!
Season Generously
For the best flavor boost, coat it well with spices. Salt, pepper, garlic powder, paprika—whatever your taste buds fancy. Rub it right over the skin and under it if possible.
Choose the Right Temperature
Preheat your oven to around 190°C (375°F). Higher temps can lock in juices and encourage that crispy skin you might be dreaming of, but too high could risk burning if you're not keeping an eye on it.
Keep It Covered or Not?
For juicy meat, start with the chicken covered and finish it uncovered for the last 10-15 minutes. This trick lets you have both moisture and that desirable crispy finish.
Use the Right Dish
A shallow roasting pan works wonders. Too deep, and your chicken may steam; too shallow, and you risk the juices evaporating too quickly.
Check the Temperature
The most reliable way to ensure your baked chicken is cooked is by using a meat thermometer. Aim for an internal temperature of 74°C (165°F). If you're serious about cooking chicken perfectly, it's an investment you won't regret.
Let It Rest
Once it's out of the oven, give your chicken a breather for about 10 minutes. This step lets the juices redistribute and can make your meal that much more succulent.
Common Mistakes
- Not preheating the oven – this can lead to uneven cooking.
- Neglecting resting time – impatience can steal that juiciness.
- Overcrowding the baking dish – air needs room to circulate for even cooking.
Quick Handy Data
| Weight of Chicken | Approximate Baking Time at 190°C |
|---|---|
| 1 kg (2.2 lbs) | 50 - 60 minutes |
| 2 kg (4.4 lbs) | 90 - 100 minutes |
So there you go! Armed with these tips, you'll have a better shot at cooking up perfect baked chicken every time. Happy cooking!

Recent Posts
-
 How Long Does It Take to Cook 2 lb of Meat in a Slow Cooker? December 28, 2025
 -
 Cheapest Long-Lasting Foods: Best Budget Pantry Staples April 26, 2026
 -
 What Foods Speed Up Female Metabolism? February 15, 2026