Moist Chicken Breast Simulator
Select your cooking method, pull temperature, and resting time to visualize the final texture and safety of your chicken breast.
Cooking Parameters
Final Outcome
SafeEstimated Final Temp After Resting:
--
Texture Analysis:
Moisture Retention Score:
Chef's Tip:
Wait for calculation...
Temperature Guide Legend
You know the feeling. You bite into a chicken breast, expecting tenderness, but your jaw meets resistance. It’s dry. It’s chalky. It tastes like you’re eating cardboard with seasoning. If this happens more often than not, you aren’t alone. The chicken breast is arguably the most misunderstood cut in the kitchen. It is lean, unforgiving, and punishes even minor mistakes with instant dryness.
But here is the good news: getting perfectly moist chicken isn’t about luck or expensive equipment. It’s about understanding three simple mechanics: moisture retention, heat control, and resting time. Once you grasp these concepts, you can cook a juicy breast every single time, whether you’re pan-searing it for dinner or prepping meal prep boxes for the week.
The Science of Why Chicken Dries Out
To fix the problem, you have to understand the cause. Chicken breast is almost pure protein with very little fat. Fat keeps meat moist; without it, you rely entirely on the water trapped inside the muscle fibers. When you apply heat, two things happen simultaneously:
- Protein Coagulation: The proteins tighten up like a wrung-out sponge, squeezing out internal juices.
- Moisture Evaporation: Water turns to steam and escapes through the surface.
If you overcook the meat, those proteins squeeze too hard, and all the juice leaves the plate. That’s why a well-done steak might be fine (it has marbling), but an overcooked breast is tragic. The goal isn’t just to cook it; it’s to stop the cooking process at the exact moment the proteins are relaxed enough to hold their liquid but cooked enough to be safe.
Technique #1: Brining is Non-Negotiable
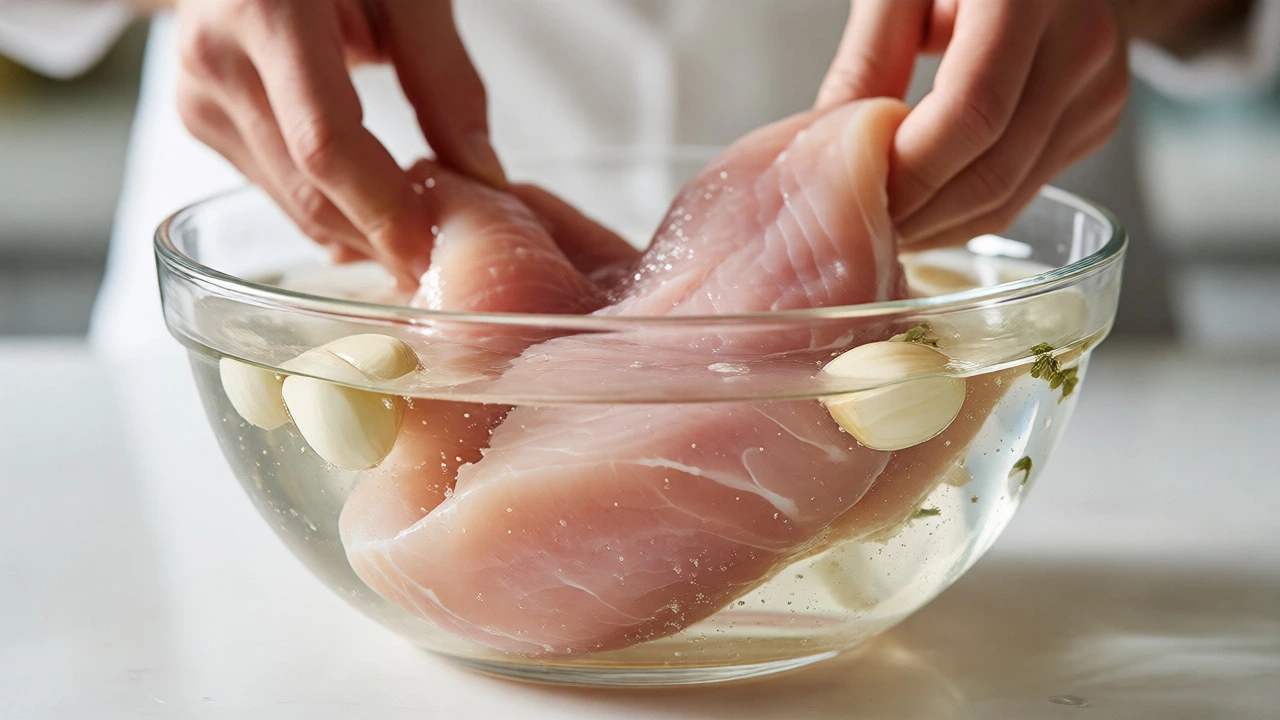
If you do only one thing to improve your chicken, make it brining. This is the single biggest secret professional chefs use to keep poultry juicy. Brining involves soaking the meat in saltwater before cooking. The salt changes the structure of the muscle proteins, allowing them to retain more water during the heating process.
You don’t need fancy equipment. Here is the basic ratio for a quick wet brine:
- 4 cups cold water
- ¼ cup kosher salt
- Optional: 1 tablespoon sugar, garlic cloves, or herbs
Submerge your breasts for at least 30 minutes, though 2 hours is better. Before cooking, pat them completely dry with paper towels. If they are wet, they will steam instead of sear, and you’ll lose that delicious crust. Dry brining is another option-rubbing salt directly onto the meat and letting it sit uncovered in the fridge for a few hours-but wet brining is faster and more consistent for beginners.
Technique #2: Even Thickness Matters
Have you ever noticed that one end of your chicken breast is rubbery while the other is still pink? That’s because chicken breasts are naturally uneven-they are thick at one end and thin at the other. Heat hits the thin part first, overcooking it while the thick part is still raw.
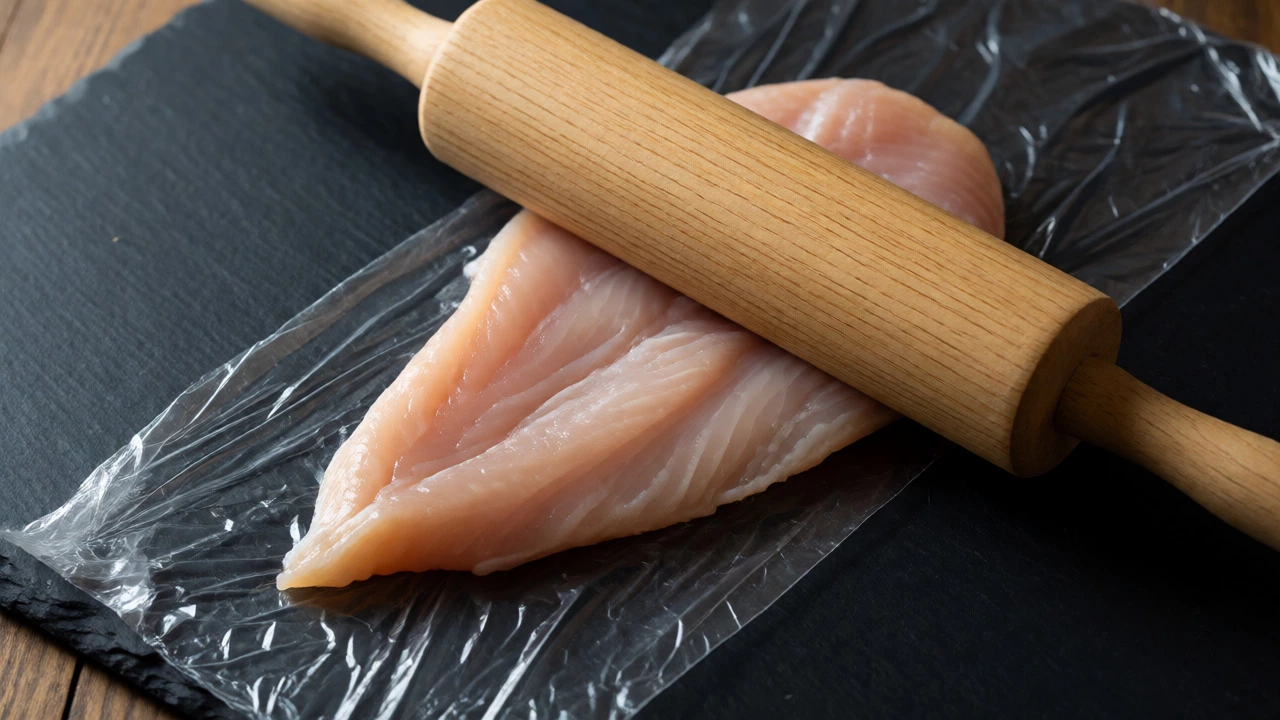
Solve this by pounding the meat. Place the breast between two sheets of plastic wrap and use a rolling pin or a heavy pan to gently pound the thicker side until the entire piece is an even thickness, about ½ to ¾ inch. This ensures the whole piece cooks at the same rate. No more guessing when the center is done. Plus, thinner pieces cook faster, meaning less time for moisture to escape.
Technique #3: Temperature Control Over Time
Stop relying on the clock. Stop checking if “15 minutes” is enough. Use a digital thermometer. This is the only tool that guarantees success. According to the USDA, chicken is safe to eat at 165°F (74°C). However, if you pull the chicken off the heat at 165°F, residual heat will continue to cook it, pushing it to 175°F or higher. That extra 10 degrees is where the juice goes to die.
Pull the chicken from the heat when the internal temperature reaches 155°F to 160°F (68°C to 71°C). Let it rest, and carryover cooking will bring it safely to 165°F without drying it out.
| Temperature | Texture Result | Recommendation |
|---|---|---|
| 140°F (60°C) | Very tender, slightly translucent | Risky for beginners; requires precise timing |
| 155°F - 160°F (68°C - 71°C) | Juicy, opaque white | Best Pull Temp |
| 165°F (74°C) | Firm, fully cooked | Safe serving temp after resting |
| 175°F+ (79°C+) | Dry, stringy, tough | Avoid; likely overcooked |
The Critical Step: Resting Your Meat
This is where most home cooks fail. They slice the chicken immediately after taking it out of the pan. Don’t do this. When chicken cooks, the juices migrate to the center of the meat due to pressure and heat. If you cut it right away, those precious juices spill onto your cutting board instead of staying in the bite.
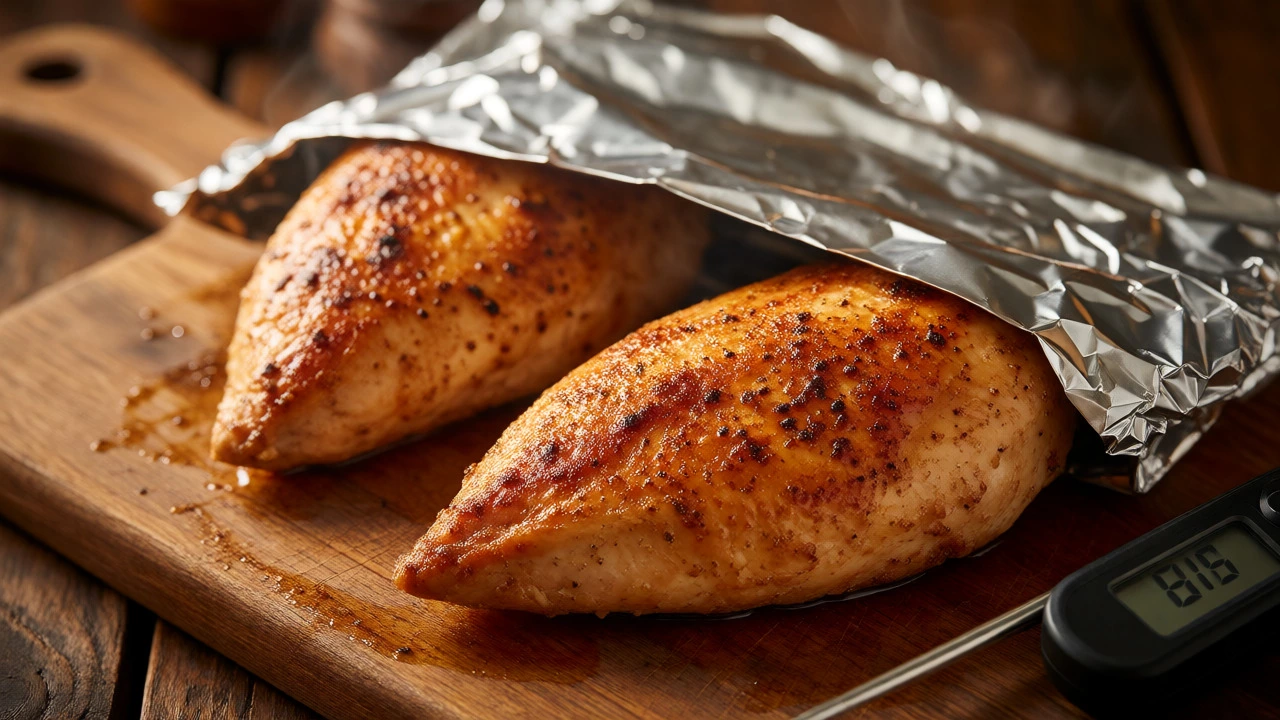
Let the chicken rest for 5 to 10 minutes under loose foil. This allows the proteins to relax and the juices to redistribute evenly throughout the breast. Think of it as letting the sponge reabsorb its water. Skipping this step wastes all your previous efforts.
Cooking Methods Compared
Not all methods treat chicken equally. Some are forgiving, others are high-stakes. Here is how common techniques stack up against the goal of moisture retention.
| Method | Moisture Retention | Difficulty Level | Best For |
|---|---|---|---|
| Poaching/Simmering | High | Low | Salads, shredding for tacos |
| Baking (Covered) | Medium-High | Low | Batch cooking, easy dinners |
| Pan Searing | Medium | Medium | Crispy skin, quick meals |
| Grilling | Low-Medium | High | Summer BBQs (requires brining) |
| Air Frying | Medium | Low | Crispy exterior, fast cooking |
Poaching is the safest bet for guaranteed juiciness. Simmering chicken in broth or water at a gentle bubble keeps the temperature low and even. Baking covered in foil creates a mini-oven environment that traps steam. Pan-searing gives flavor but requires attention to heat levels-medium-high is usually best to get a sear without burning the outside before the inside is done.
Troubleshooting Common Mistakes
Even with the right techniques, things go wrong. Here are the usual suspects:
- Cold Meat into Hot Pan: Taking chicken straight from the fridge to a screaming hot pan causes shock. The outside cooks instantly while the inside stays cold. Let the chicken sit at room temperature for 15-20 minutes before cooking.
- Overcrowding the Pan: If breasts touch each other, they steam instead of sear. Give them space. Cook in batches if necessary.
- Ignoring Marinade Acidity: Acidic marinades (lemon juice, vinegar) break down protein surfaces. If left too long (over 2 hours), the texture becomes mushy or chalky, not tender. Limit acidic marinades to 30-60 minutes.
Final Thoughts on Juicy Chicken
Making moist chicken breast isn’t magic. It’s physics. Salt helps the meat hold water. Even thickness ensures uniform cooking. Low-and-slow heat prevents protein tightening. And resting lets the juices settle. Master these four steps, and you’ll never serve dry chicken again. Start with a brine, buy a thermometer, and trust the process.
Why is my chicken breast always dry?
Chicken breast is very lean with little fat. It dries out quickly if overcooked because the muscle proteins contract and squeeze out internal moisture. Using a thermometer to pull it off the heat early (around 160°F) and letting it rest prevents this.
How long should I brine chicken breast?
For a standard wet brine, 30 minutes to 2 hours is ideal. Less than 30 minutes may not penetrate deeply enough, and more than 2 hours can make the meat overly salty or change the texture to be too soft.
Can I bake chicken breast without drying it out?
Yes. Pound the breasts to even thickness, rub with oil, and cover tightly with foil while baking. Bake at 375°F (190°C) until the internal temperature reaches 160°F. The foil traps steam, keeping the meat moist.
Is it safe to eat chicken at 160°F?
Yes, if held at that temperature for a sufficient time, bacteria are killed. More importantly, pulling chicken at 160°F allows carryover cooking to raise it to the USDA-recommended 165°F while it rests, ensuring safety without overcooking.
Does pounding chicken make it tougher?
No, pounding actually helps tenderize the meat by breaking down some connective tissue and ensuring even cooking. Just be gentle; you want to flatten it, not turn it into paste.

Recent Posts
-
 Vegan Alcohol Guide: What to Drink Without Animal Products August 23, 2026
-
 Italy's Favorite Pasta Dish: What Italians Actually Eat September 20, 2026
-
 What Happens to Your Body When You Fast for 14 Hours? January 8, 2026
-
 What Happens If You Don't Rinse Baking Soda Off Meat? January 11, 2026